
Actual color may vary from on-screen representation.
WHAT YOU'LL NEED
HOW TO PAINT TRIM
Step 1: Prepare the Trim
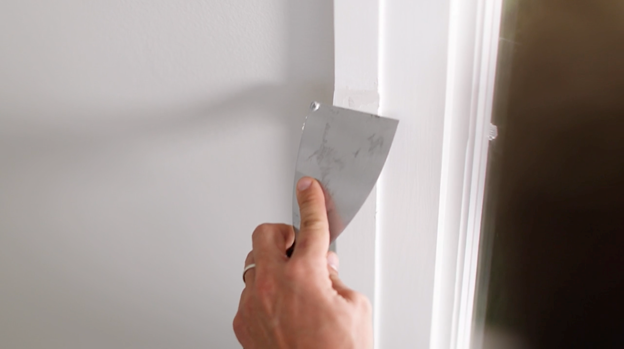
Start by cleaning dirt and grime from your trim with a damp sponge. Then, sand the surface and wipe it clean again. Fill in any holes, dents, and cracks with a lightweight spackling compound. When it dries, lightly sand the spackled areas and wipe clean.
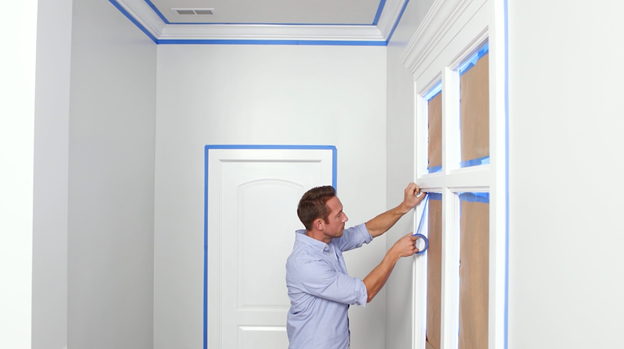
Apply safe-release painter’s tape to the walls and ceilings surrounding the trim, being careful not to tape the trim itself. Use longer pieces of tape rather than short ones, to minimize gaps and reduce the chance of paint sneaking through.
HOW TO PREP AND PAINT DOORS
Step 1: Protect Hardware
Before you start, remove any hardware from the door or cover it up with painter’s tape. If you want, you can also remove the door before painting. In that case, painting on top of saw horses can make the job easier.
Step 2: Paint Interior Panels
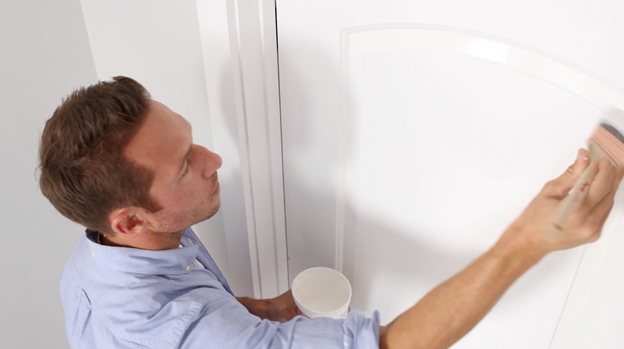
Next, if you’re painting a paneled door, start by painting the recessed panels first with a brush.
Work from top to bottom, starting with each panel’s molding, and then the interior.
Step 3: Paint the Rest
When you’re done with the panels, move on to the rest of the door. Use a 6″ roller to finish the outer edges. The roller will help avoid any paint strokes for a smoother finish. If the door swings out, paint the hinged edge. If the door swings in, paint the lock-side edge.
HOW TO PREP AND PAINT WINDOWS
Windows come in all shapes and sizes, but painting interior window frames can be very similar to painting trim. In fact, most of the prep work and priming is exactly the same.
The interior of the frame is the tricky part – just make sure to cover up the glass with paper and securely tape it into place around the edges. That way, you’ll keep paint drips from spoiling your view.