
Actual color may vary from on-screen representation.
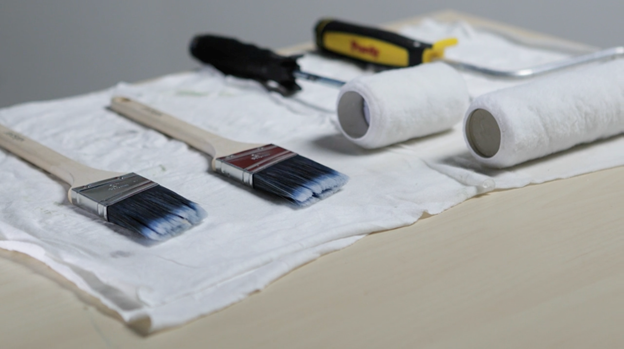
What You'll Need
- Bucket & rags
- Water
- Brush keeper
- Paint thinner
- Dish soap
- Painters 5-in-1 tool
STEP 1: SCRAPE
When you’re finished painting, remove as much paint from your brushes as possible. Try using a cloth, a scrap piece of paper, or scraping them on the rim of the paint can. For rollers, you can squeegee off any excess paint.
STEP 2: USE APPROPRIATE CLEANSER
Submerge the brush in a cleaner appropriate for the type of paint you used, and stir well. Repeat until no more paint falls off the brush.
- For oil-based paint, use mineral spirits.
- For water-based paint, use warm water and dish soap.
- For shellac, use denatured alcohol.
STEP 3: RINSE
Rinse the brush with lukewarm water to remove the cleaner and any remaining paint debris on the brush. Rub the bristles thoroughly with your fingers to clean the tool completely. Then, shake the brush vigorously to get rid of most of the water.
Always follow local municipal guidelines for disposal of paint and cleaning water.
STEP 4: DRY AND STORE

BRUSH KEEPERS
Brush keepers are another great option, as they’re designed to store your brushes while maintaining the shape and quality.

PAINT STORAGE
Always seal and save leftover paint – you never know when you’re going to need it for a quick touch-up. Wipe any excess paint from the rim and paint can exterior, then store it in a dry, cool location, away from sunlight.