
Actual color may vary from on-screen representation.
DIY DREAMS COME TRUE
SUPPLIES YOU WILL NEED
- Valspar Cabinet & Furniture Oil-Enriched Enamel in Satin – 1 Gallon (Tuxedo 8006-8G)
- Valspar Signature Interior Paint + Primer in Satin – 2 Gallons (Cookie Dough 8005-9B)
- Valspar Stainblocking Bonding Primer/Sealer – 1 Gallon
- Valspar 4-in x 3/8-in Walls and Ceilings Knit Mini Roller
- Valspar Walls, Ceiling & Trim Kit
- Painters Tape
- 220 grit sand paper
STEPS
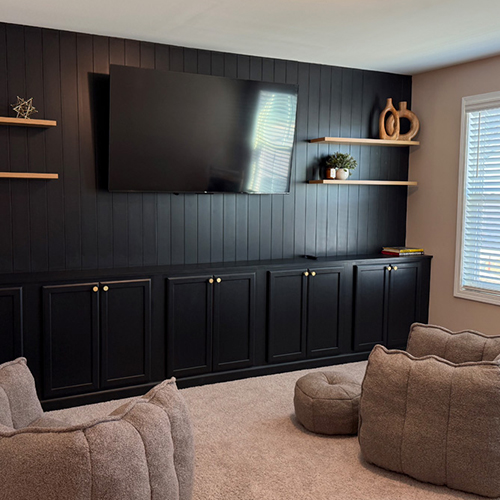
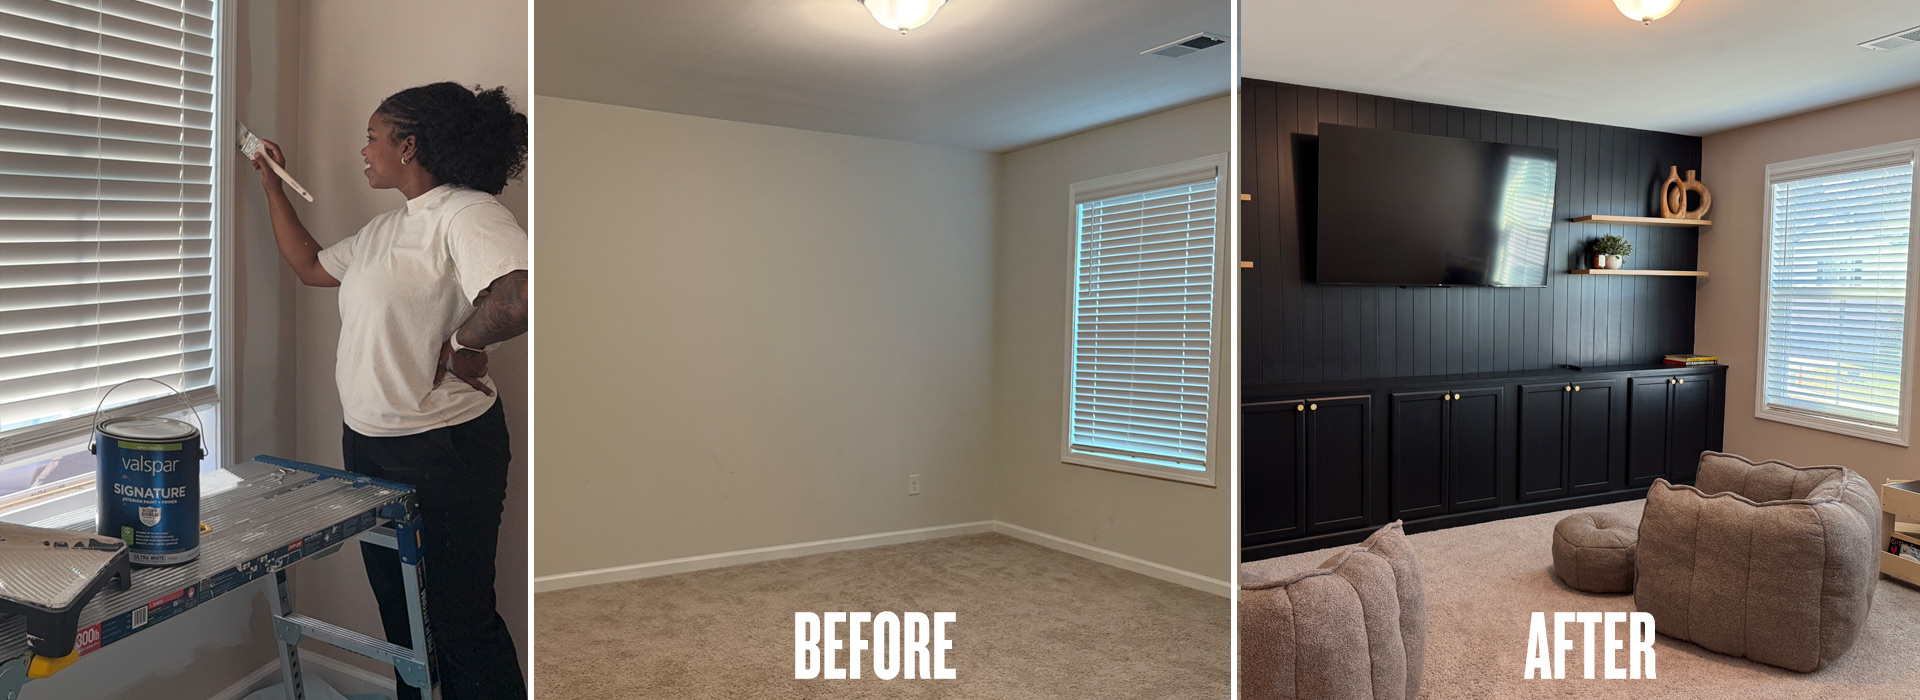
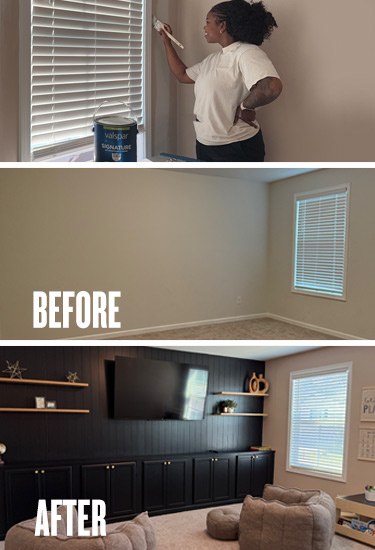
My goal for this project was to create a family-friendly space with lots of storage. To accomplish this, I used unfinished cabinets. To ensure they’re not sitting directly on the ground, I had to use 2x4x8 lumber to build out a frame and remove the carpet underneath the base.
Pro tip: removing the carpet ensures proper support and alignment of the cabinets.
This was my second time installing cabinets, and I decided to install them before painting this time. For this project, I used a total of five upper unfinished cabinets and for me, installing them first truly made it easier to make it look like one large piece before painting.
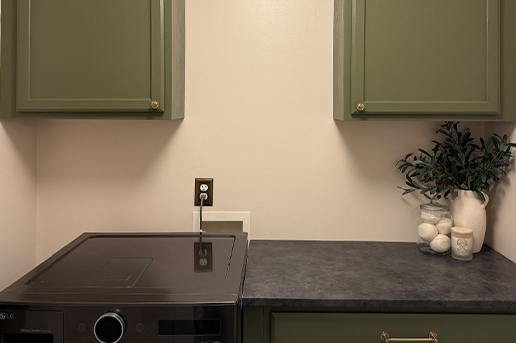
With my laundry room makeover that I did earlier this year with Valspar I learned that unfinished cabinets take a lot more work to prep for paint, but they definitely helped the project stay more budget-friendly. Using Valspar Stainblocking Bonding Primer/Sealer and Valspar 4-in x 3/8-in Walls and Ceilings Knit Mini Roller I applied one coat of primer to all of the cabinet surfaces that I would be painting. I chose Valspar’s Stainblocking Primer because of its ability to be sanded and that it improves topcoat performance and durability.
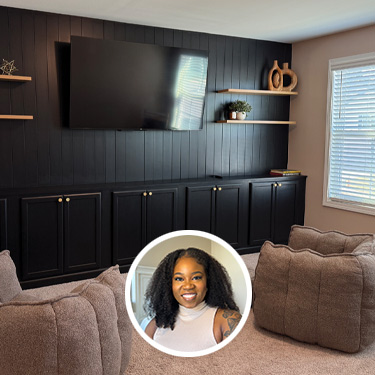
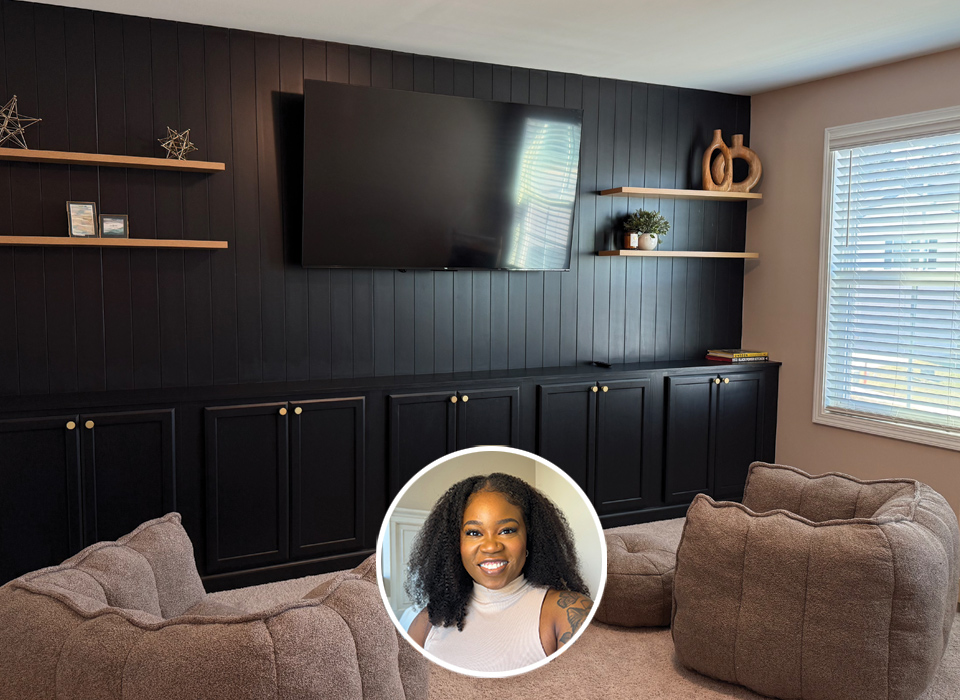
I knew paint was going to be one of the most transformative parts about this project so I chose the combination of Valspar Signature Interior Paint + Primer in the color Cookie Dough 8005-9B for the walls in Satin and Valspar Cabinet & Furniture Oil-Enriched Enamel in the color Tuxedo 8006-8G for the cabinets and shiplap panels in Satin. The kids were very excited to know that the wall color was Cookie Dough! I applied two coats to both the walls and the cabinets while sanding in between with the 220 grit sand paper to ensure a super smooth finish.
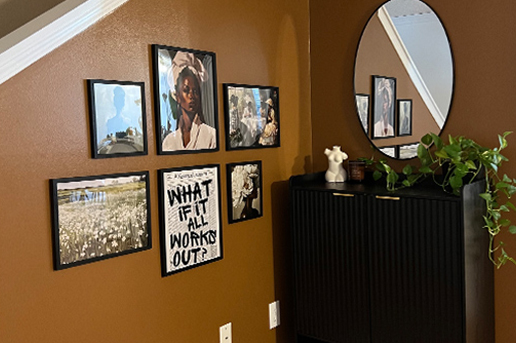
After working on this project for almost 2 weeks between my full-time job and just life, this project almost felt never ending. But adding the final touches to the space, including cabinet hardware, some floating shelves, and all of the little kid furniture definitely brought this space to life. When I do projects for myself, there’s no big reveal at the end, so to see my best friend’s face light up when she saw this project for the first time after not seeing this space for so long definitely made all of the late nights worth it!