has been added to your cart.
You’ve reached the maximum number of chips allowed per order.
has been added to favorites.
View Favorites
Our 2026 Color of the Year is Here!
See It Now
HOW-TO
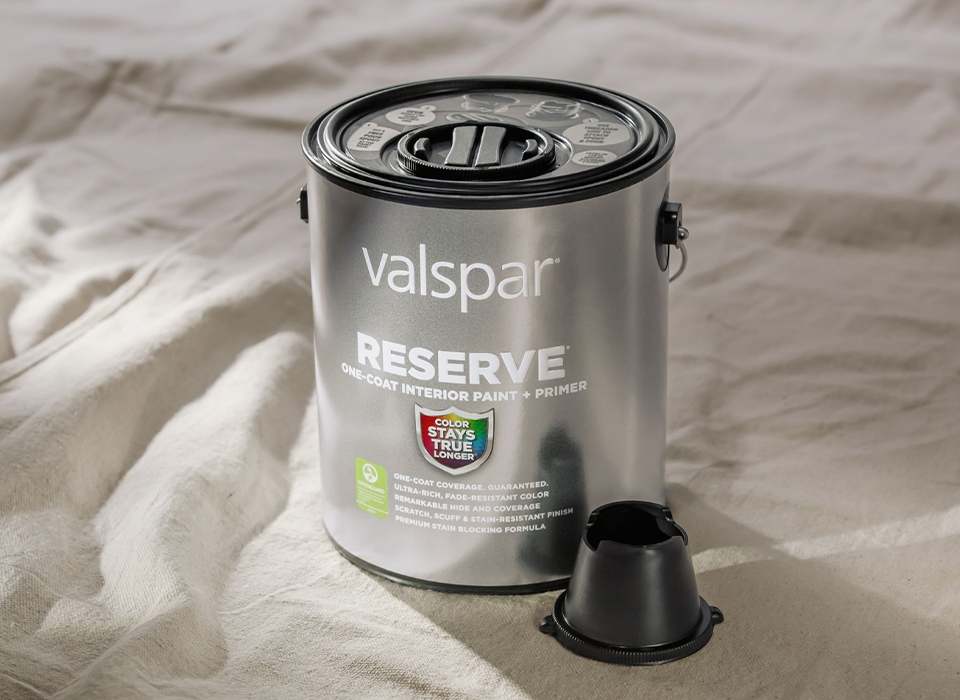
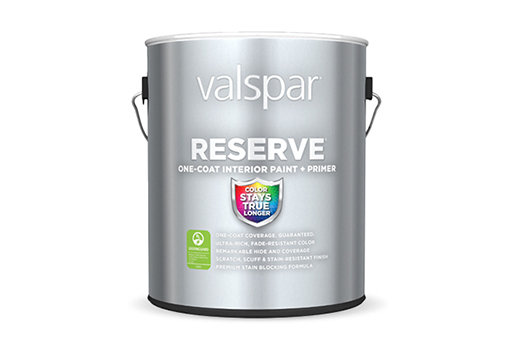
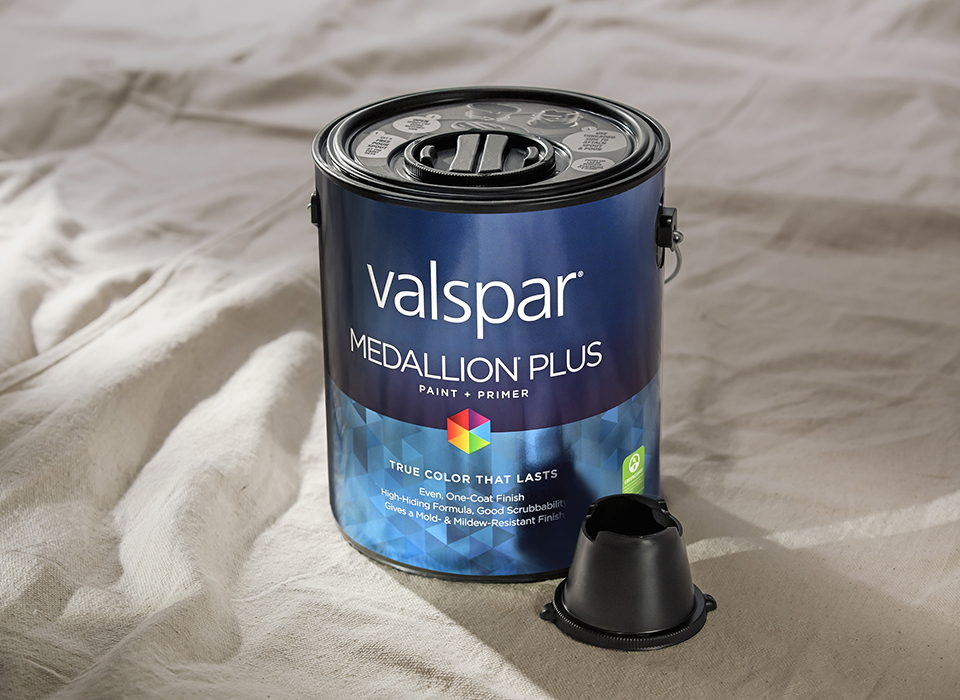
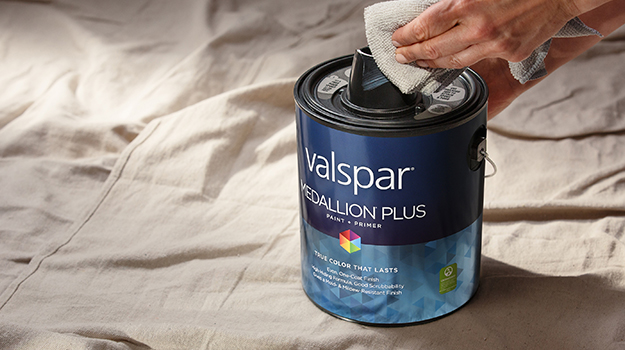
Designed for ease, our pour spout helps you paint with less mess and pour with more control.
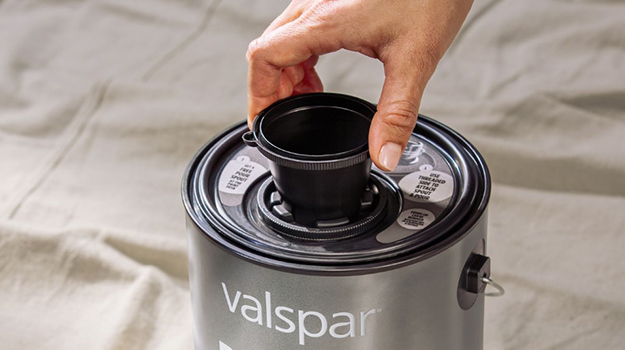
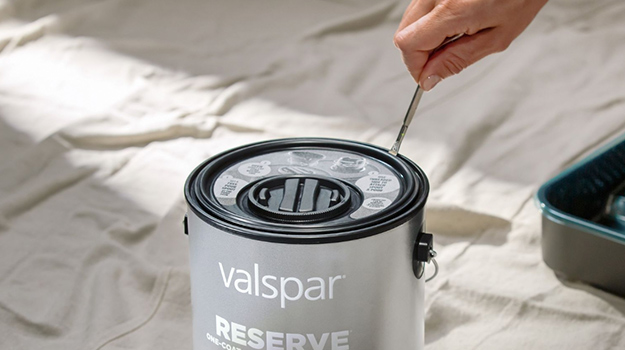
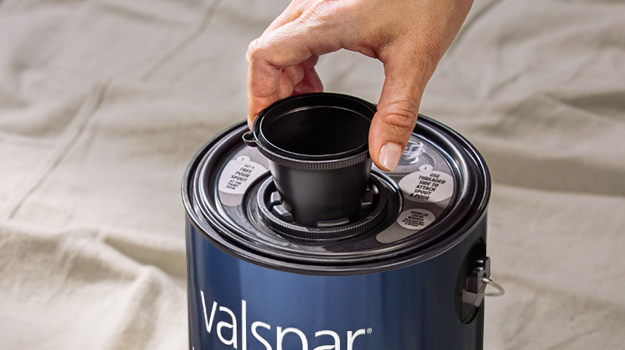
Attach the notched end of the pour spout to the cap by lining up the notches. Turn counterclockwise to remove the cap.
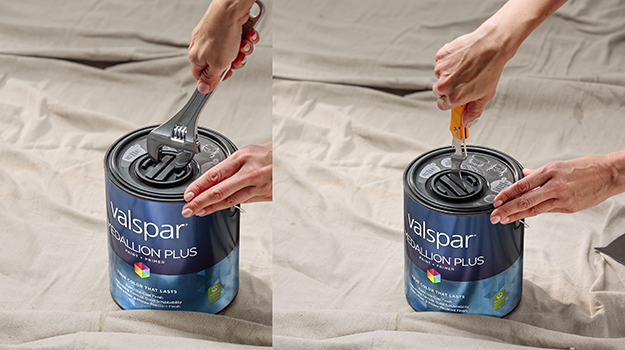
You can also use a painter’s multi-tool or wrench to open the cap.
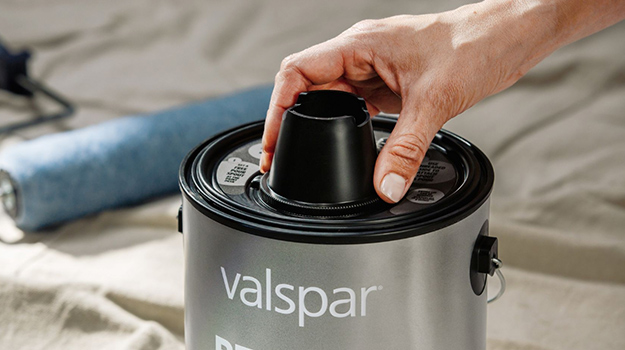
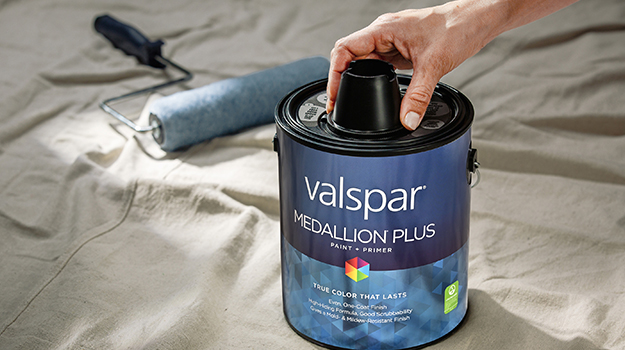
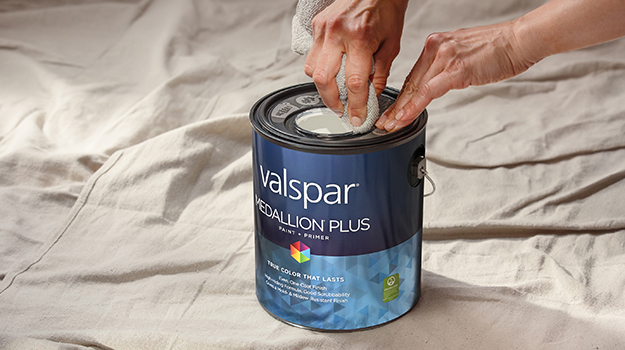
Flip the spout over and twist the threaded side clockwise to tighten.
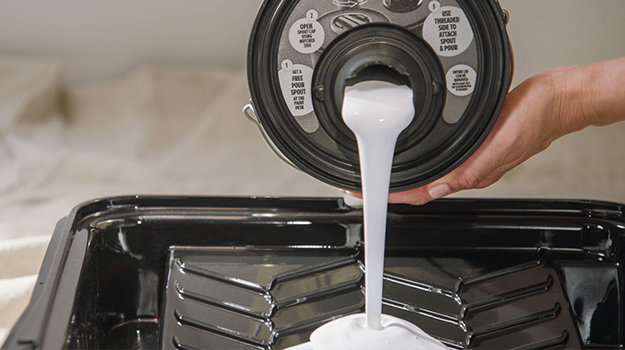
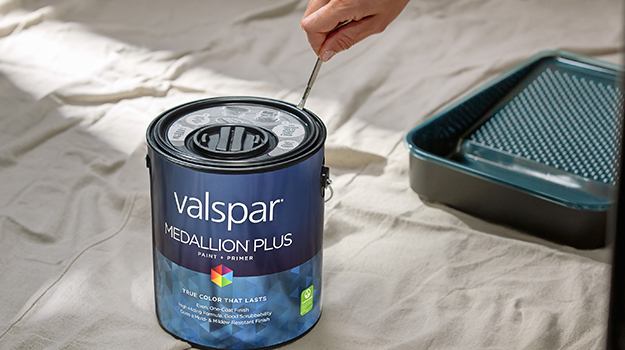
Pour the paint from any side of the spout. To avoid drips, gently tilt the can back to an upright position after pouring.
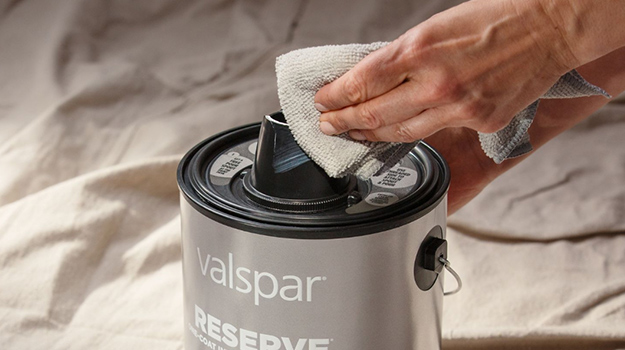
When you’re finished with the project, wipe any excess paint and remove the spout by twisting counterclockwise.
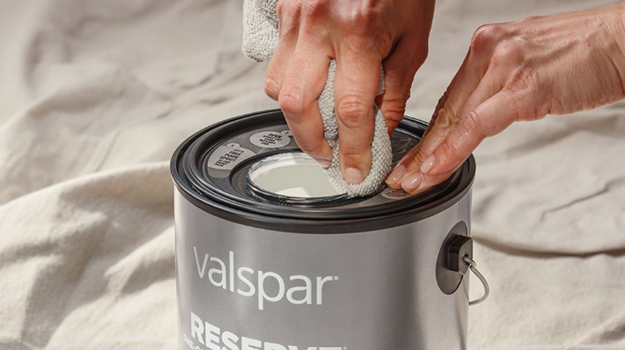
Wipe the excess paint from the opening. Then, reseal the paint can by reattaching the twist cap.
Need to remove the whole lid? Use a paint key if desired. Just don’t forget to clean the rim before sealing it again with a rubber mallet or hammer.